 With digital, there is much less "guess work". Most camera's "auto" mode will do long exposure whether you want them to or not. The camera is designed to get an exposure, and if there isn't enough light, it will hold the shutter open until it has it. blurring anything that moves in the frame, or the whole image if the camera moves. But what do you do when you want a good long exposure? Here are some tips to help you get that night shot, and make it look good.
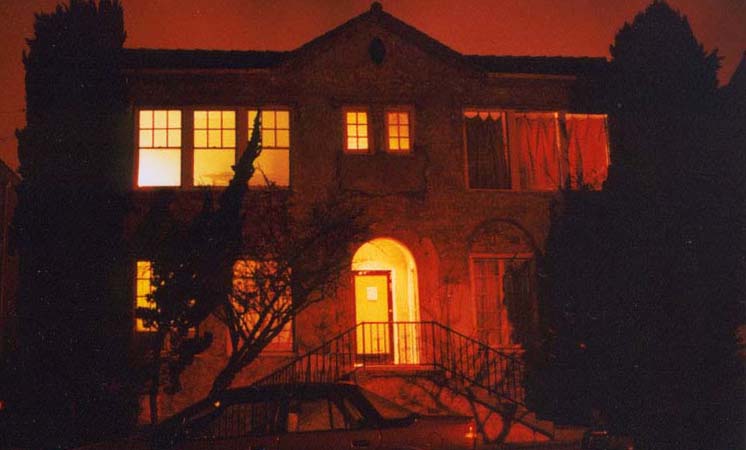
Eliminate shake. Mount the camera. Use a tripod if you have one, set it down if you don't. Your heartbeat will shake the camera, and depending on how long the exposure is, and how long your lens is, that shake will probably blur your image. Use a remote triggering device if you can, or use the camera's timer to insure the act of pushing down on the shutter button doesn't shake the camera.
Use a wide lens. This isn't terribly important, but a wide lens will minimize the effects of any camera shake. The longer the lens, the more obvious any movement is. If the lens is zoomed in twice as tight as what your eyes see, any movement of the camera will be twice as pronounced. A wider lens will also give you a much wider depth of field helping to achieve a good focus (which can be somewhat difficult shooting wide open and zoomed in at night)

For the motion picture crowd, unless you are doing time lapse, you can't shoot 30 fps and still do a 30 sec exposure. Your best bet will be to use the fastest lens you can get, and then test your camera with different f-stops and ISO settings. Compare different ISO settings and f-stops until you find an acceptable depth of field, and noise ratio. Use a wide, fast lens, and you should still get a good image. Remeber, the whole image does not need to be properly exposed. As long as one area is right, the rest of the image (even your subject) can be a stop or two under exposed.
*Research Tip: If you would like to look at some incredible examples of early 20th century B&W night photos, I highly recommend looking at Brassai: Paris by Night
No comments:
Post a Comment